Why Skin Looks Duller in Photos
You look fine in the mirror, yet the photo somehow comes out sallow and flat. Almost everyone has had this moment. The truth is that your skin tone did not actually change. The light and color around you in that instant get reflected onto your face and baked into the frame. The bluish cast of overhead tubes, the yellow glow of a room at dusk, and even color bouncing off your clothes or the wall all settle as a thin layer over your skin.
Add the way a camera interprets color and the gap grows wider. Your eyes auto-correct surrounding light so white paper always reads as white, but a camera, depending on its settings, can record the same scene as yellow or as blue. So dullness is far more often a visual result of light, color, and angle than a problem with the skin itself. This guide is about shifting that visual impression toward brightness, purely from a styling angle.
Start With the Color Nearest Your Face
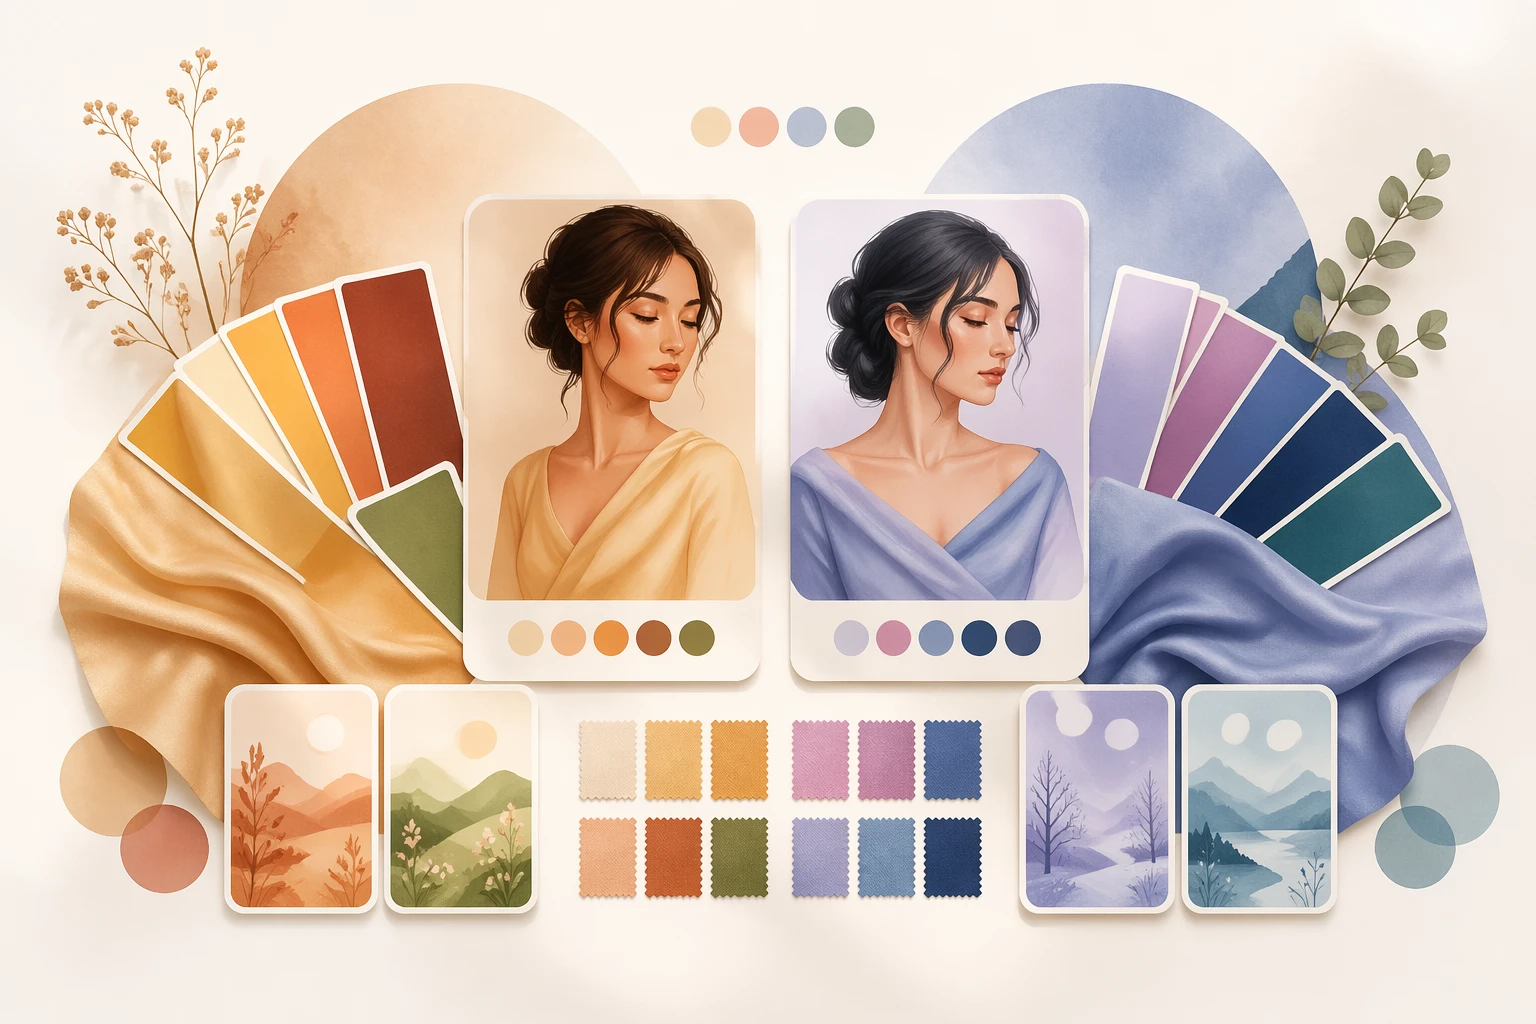
The first step toward brightness is the color closest to your face. Whatever sits right beside it, the top under your chin, a scarf, a hat, an eyeglass frame, acts like a mirror that casts its color onto your skin. Even within white, a cool blue-white can press a warm complexion further toward yellow, while an ivory or cream white with a hint of warmth supports a soft, healthy-looking glow. If your skin reads cool, a clean pure white can make it look clearer instead.
When you look dull, try adding one bright accent color near your face. Coral, apricot, and warm pink sit close to a natural flush and give the impression of color in the cheeks. You do not need to change everything. A small accent, the 10 in the 60-30-10 color rule, placed near the face is enough. The colors that tend to flatten you are the muddy ones that sit close to skin, like dull khaki, deep mustard, and grayish beige, so keep those a little farther from the face.
Light Is Half of It — Find Soft Front Light
More than half of a bright photo comes down to light. The easiest source is the soft front light from a curtained window during the day. Face the window and the light wraps your whole face evenly, softening shadows so your skin reads smooth and luminous. Window light on an overcast day often falls most gracefully of all, because the clouds act like one giant diffuser.
What to avoid is the harsh ceiling light pouring straight down on your head. Light from directly above carves deep shadows under the eyes, beside the nose, and around the mouth, making the face look tired and dull. Under a ceiling lamp, lift your chin slightly to catch the light, or place a bright wall or a sheet of white paper below to bounce light up and fill those shadows. Even a small reflector brightens the lower face and softens the whole impression.
One White Balance Tweak Clears the Yellow
If your light and color are sorted yet the photo still reads yellow or blue, it is time to adjust white balance. White balance is the setting that tells the camera which white counts as white, and when it drifts, your whole face looks like it has a color filter over it. Left on auto under a warm bulb the frame leans yellow, and in shade it leans blue.
On a phone, open the edit screen and nudge the temperature, the warm-to-cool slider, very slightly. If things look yellow, move a notch or two toward cool. If you look pale and washed out, move a touch toward warm, and the skin clears up fast. If you are unsure where to stop, adjust only until a white shirt or white wall in the shot reads as genuine white. Overdoing it looks unnatural, so the key is adding and removing in small amounts.
Build Brightness With Smooth, Luminous Skin
When the surface of the skin is rough or flaky it cannot reflect light evenly, so it reads dull. Keeping the surface smooth day to day with gentle exfoliation and generous hydration means it catches the same light far more brightly. Well-kept texture reflects light evenly instead of scattering it, which on its own gives a sense of glow.
If you wear makeup, a light, skin-revealing luminous base flatters brightness more than heavy full coverage. Press everything too matte and the light reflection disappears, leaving the face looking flat and lifeless. When you are tempted to add another thick layer, blend it thin instead, and place a soft sheen only on the high points that the light touches, like the tops of the cheeks. Dimension returns and the skin looks lit from within.
Add a Spoonful of Life With a Warm Accent
Once the overall tone is clean, the final step is adding a sense of life. Place a touch of warmth only where light naturally lands, the highest part of the cheek, the tip of the nose, the top of the cheekbone, and the face looks as if color is rising to the surface. A warm accent in coral or apricot covers yellow dullness while creating a lively, flushed impression.
Blend it wide and soft rather than packing it densely into one spot. A visible edge ends up feeling heavy. Right before the shutter, simply lifting the corners of your mouth into an easy, natural expression raises the facial muscles and adds brightness. Light, color, texture, and a little warmth — put these four together and the same face is captured far more radiantly.
A For-Fun Styling Reference
Everything here about color, light, and white balance is a for-fun styling reference to help you enjoy photos and styling more brightly. Skin tone and flattering colors differ from person to person, so rather than treating any of it as a fixed answer, apply one idea at a time to your own photos and find the combination you like.
Today, try one shot in ivory with a single coral accent under soft window light. Small differences add up and lift the impression in your photos.